Buttons can be quick navigation tools, helping readers quickly jump to specific sections or pages, and saving time.
Let’s explore the steps of adding a button and linking it to another page.
Add a button #
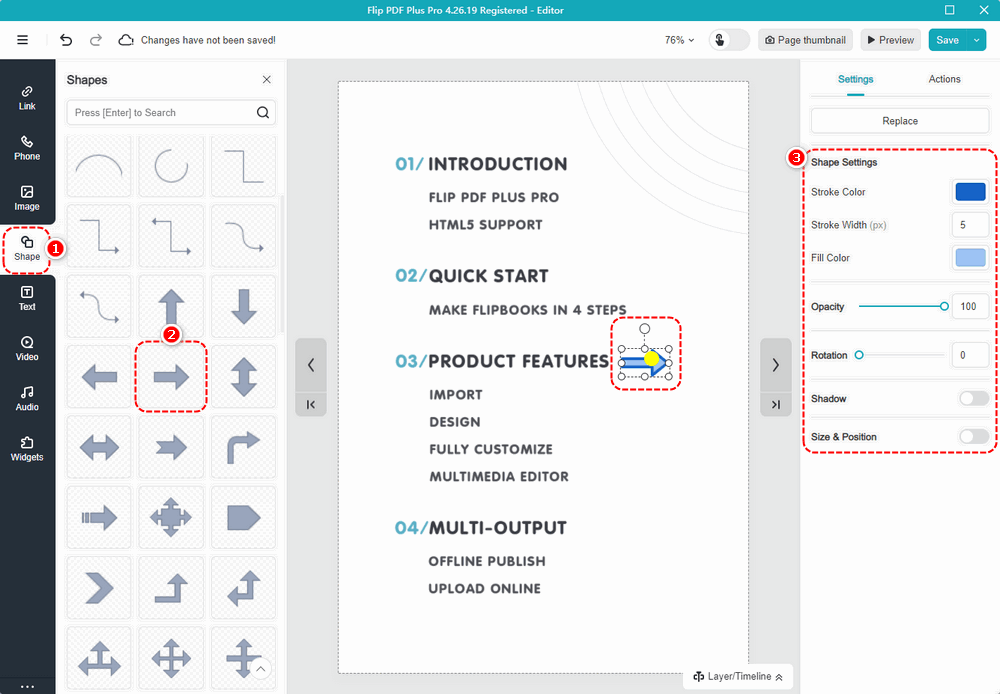
1. In the Multimedia Editor, click [Shape] on the side toolbar.
2. Select a shape.
3. You can do some settings such as size, color, opacity, and position of the shape.
Note: Flip PDF Plus Corp users can select and customize the preset icon buttons from the list. For more details, please click this link: https://help.flipbuilder.com/docs/how-to-create-icon-buttons-with-click-and-hover-effects/
Link the button to another page #
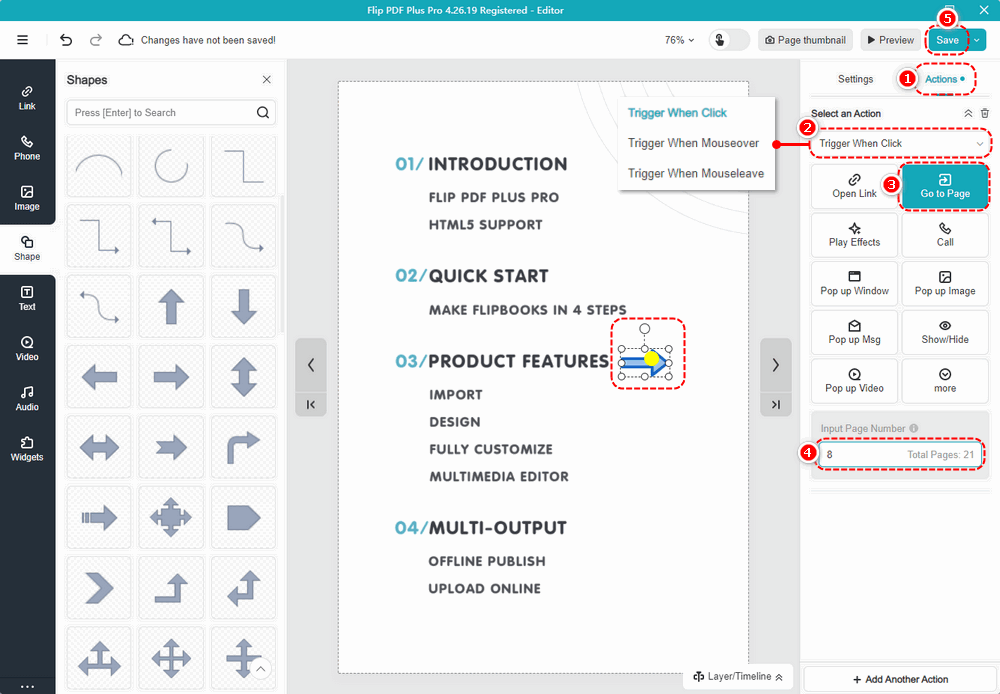
1. Click [Actions].
2. Select [Trigger When Click/Mouseover/Mouseleave] as the trigger timing.
3. Select [Go to Page].
4. Enter the page number you want the button to link to.
5. Click [Save].
The effect of your settings is as follows:
